
Setting and verifying balances
Set starting balances per bank, and know when a number is official.
Every leave bank tracks a balance per member, but not every number carries the same weight. A balance you set by hand is a starting point; a balance verified at timesheet approval is official. This page covers both: how to set balances, and how BadgeOut marks the ones it has verified.
Set a member's balances
- Open Members and select the member, or use the row menu on the list.
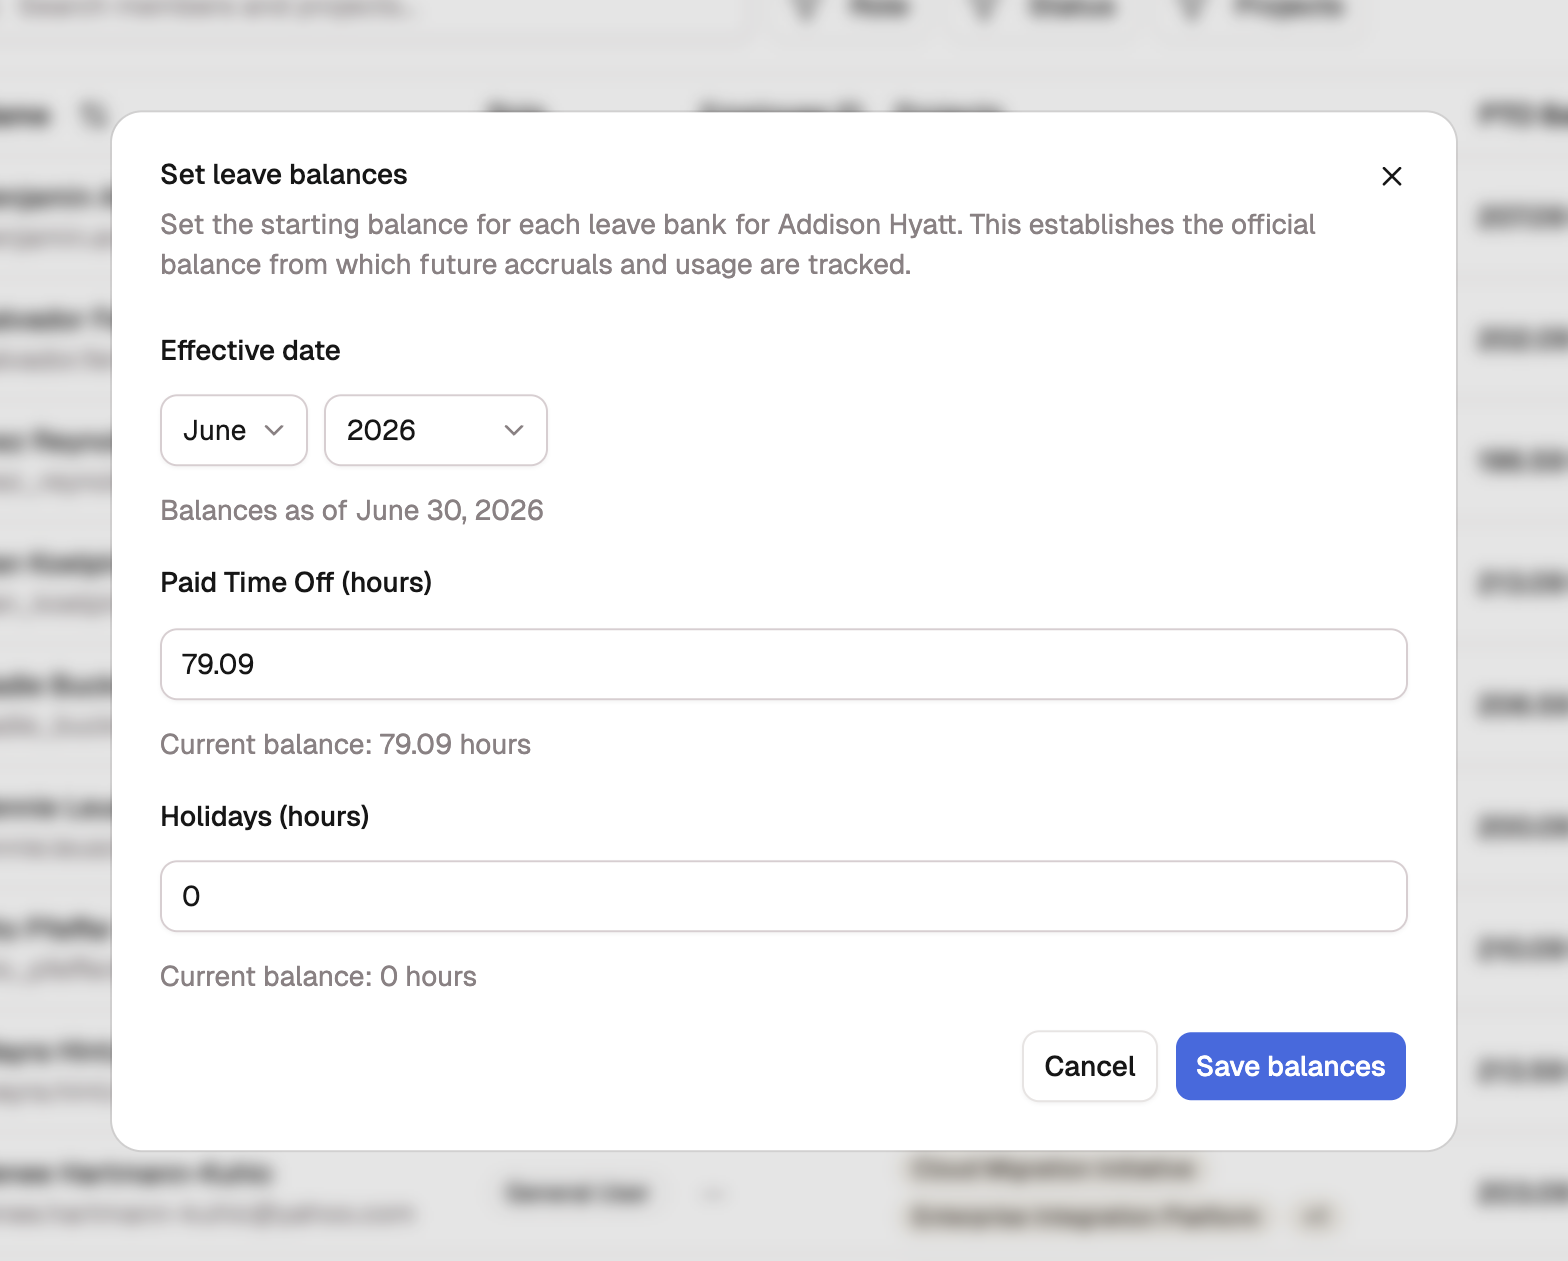
- Select Set PTO Balance from the Edit menu in the page header. The Set leave balances dialog opens with one hours field per bank, labeled with the bank's name and its current balance.
- Enter the hours for each bank you're setting. Leave a bank untouched to keep its balance as is.
- Choose the Effective date: the month the balances are true as of.
- Select Save balances.
Overwriting an existing balance
Setting a bank that already has a balance re-anchors it: future accruals and usage are tracked from your new number, not the old history. The dialog asks you to confirm before it saves. To move a running balance up or down without rewriting what came before, use Adjust instead. It sits next to Edit on the member's Leave banks card.
Set balances in bulk
To set one bank across many members at once, for instance when you first bring your team into BadgeOut:
- Open Settings, select PTO & Holidays under Time-Related, then the Balances tab.
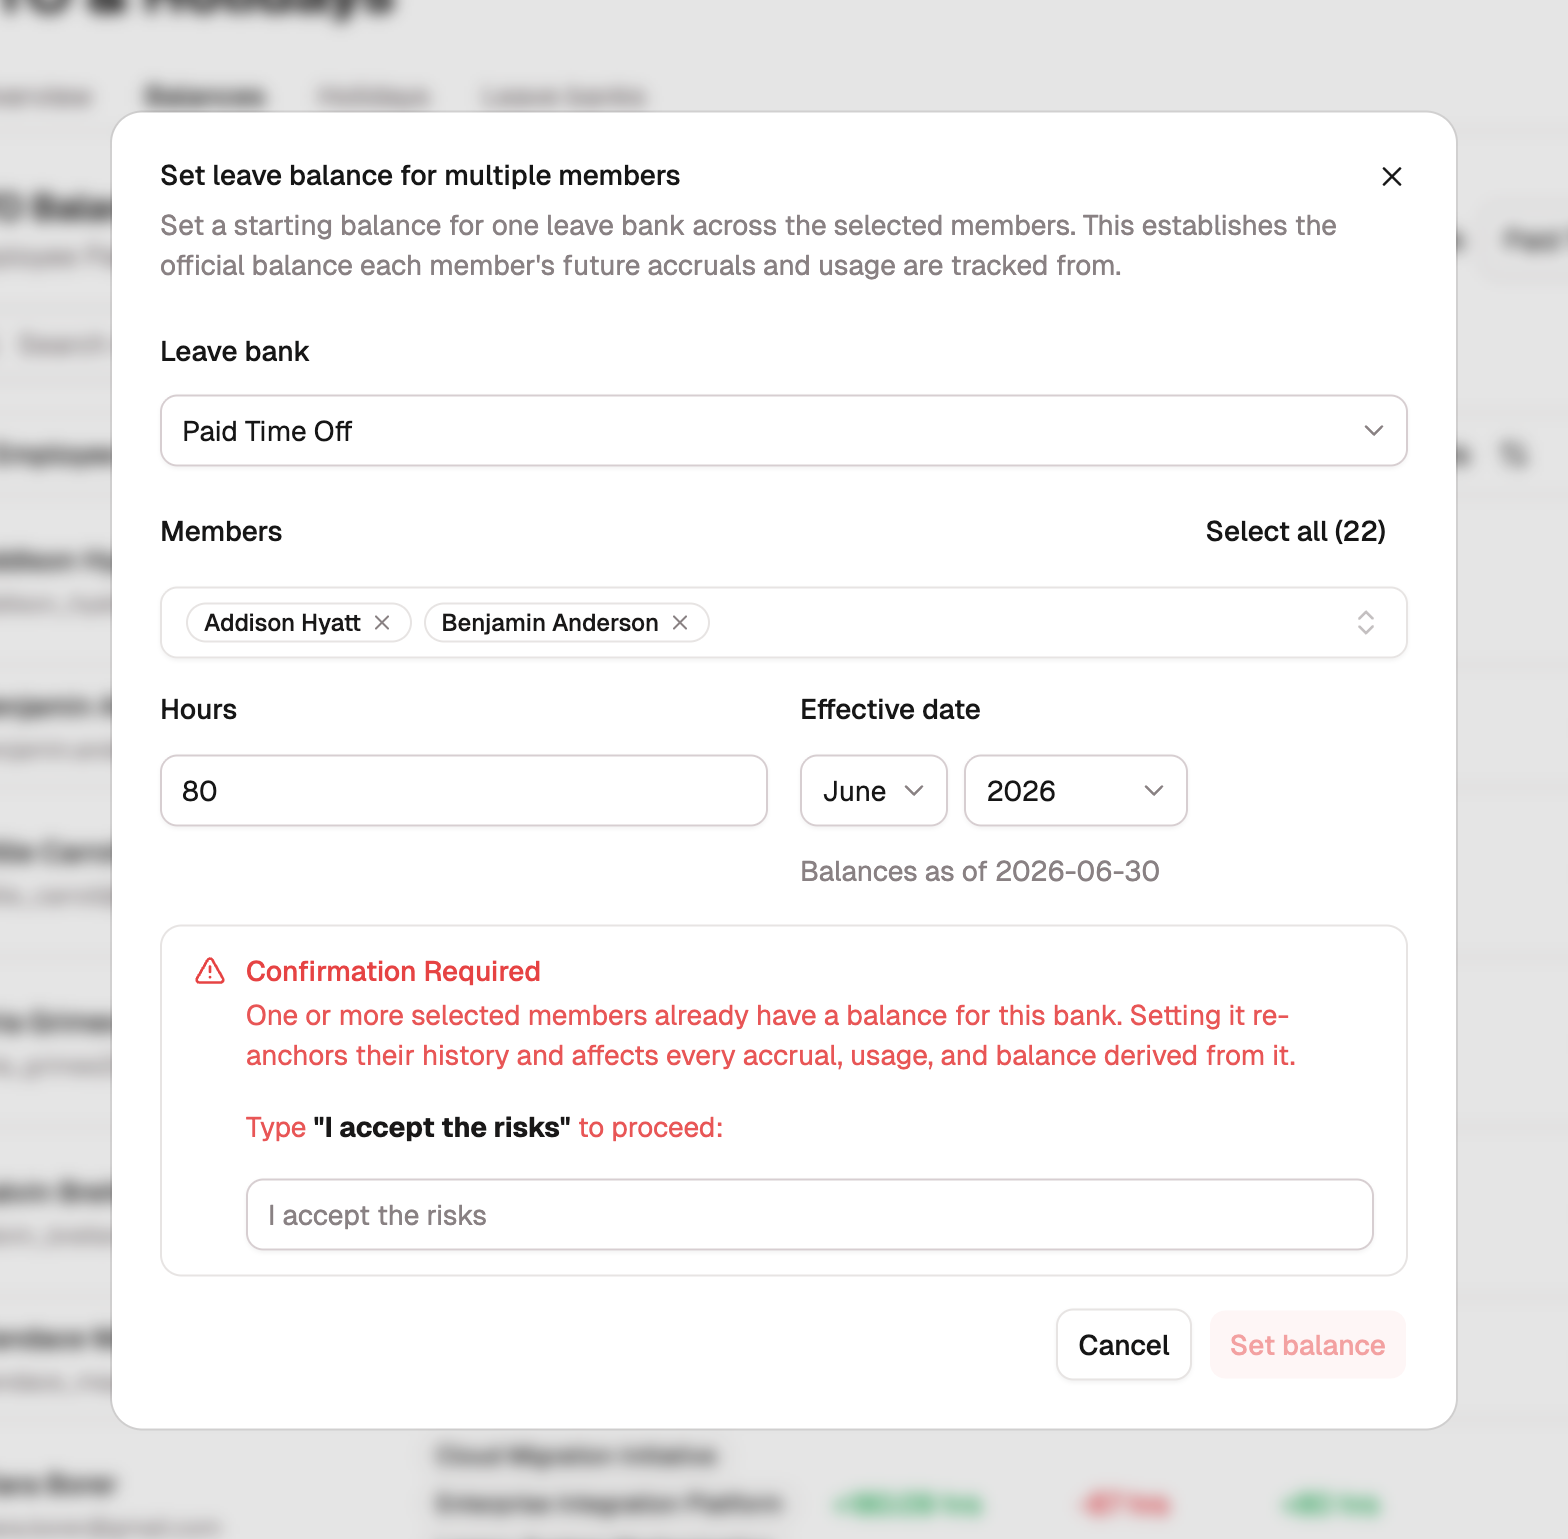
- Select Bulk set balances.
- Choose the Leave bank. A bulk pass sets exactly one bank, so there's never a question of where the hours landed.
- Choose the Members, enter the Hours, and pick the Effective date.
- Select Set balance. If any selected member already has a balance on that bank, the dialog asks you to type a confirmation phrase before it overwrites.
How a balance becomes official
Approving a timesheet records a checkpoint: the member's starting balance, accrual, and usage for the period, attested by the approver. That checkpoint is what makes the number official, and the next period reads it back as its starting balance, so the chain stays audit-ready.
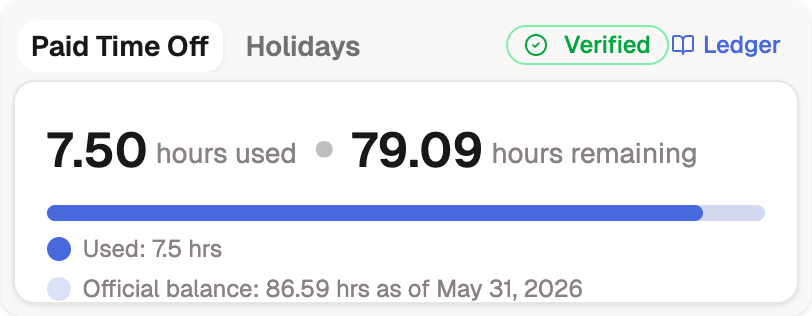
On the timesheet's balance card, the default PTO bank shows the result: Official balance with the date it was verified, and a Verified badge when the figure comes from an approval checkpoint. Other banks show a plain Balance as of figure; their numbers come from the ledger rather than an attested checkpoint. The card lists only the banks the member can spend from, plus any bank they've lost access to that still holds hours, shown read-only until it reaches zero.
Reading checkpoint rows in the ledger
A member's PTO ledger timeline shows an Official balance row wherever a checkpoint anchors the balance, alongside the usual accruals and usage. Each one names its source:
| Provenance | What it means |
|---|---|
| Verified at approval by … | Recorded when that person approved the period's timesheet. |
| From a balance adjustment by … | Recorded when that person adjusted the balance by hand. |
| System reconciliation | Recorded by BadgeOut to repair a checkpoint that disagreed with the ledger. |
Only one Official balance row appears per bank and date, so the timeline reads as a single authoritative thread.
Setting a balance doesn't record one of these rows. It writes the member's starting balance, and the official figure catches up at the next approval. An adjustment moves the official balance on the spot.
To check every member's official balances at once, rather than one ledger at a time, open the Leave balance roll-forward report. It lists the official balance at each end of a date range and the movements between them, per member and bank.
When a member has no starting balance
Until you set a starting balance, the member's timesheet shows No starting balance set on the current period, and approval can't record a checkpoint. The Approve & Set PTO Balance dialog stops you with No Initial PTO Balance Set: select Set Initial Balance to fix it without leaving the approval.
The inline form defaults to the month before the period you're approving, and that's deliberate: the approval only recognizes a balance dated on or before the period start, so a later date is refused with an inline explanation. Enter the hours and select Set & Continue. When a balance already exists for the bank, the button reads Overwrite & Continue instead, so replacing an anchor is always an explicit choice.