Creating a project
Use the New Project wizard to stand up a contract, its first period, and its charge codes in one pass.
Creating a project is the one-time setup that gives everything else a home. The New Project wizard walks you from the contract down to the codes your team logs against, building the project, its base period, and its charge codes in a single save. You can refine any of it afterward, so aim for a workable first pass rather than perfection.
Open the New Project wizard
- Open Projects from the Setup menu in the top header.
- Select New Project.
The wizard opens with four steps down the side: Project Foundations, Contract Periods, Charge Codes, and Review. Move forward with Next, back with Back, and jump to any completed step by selecting it.
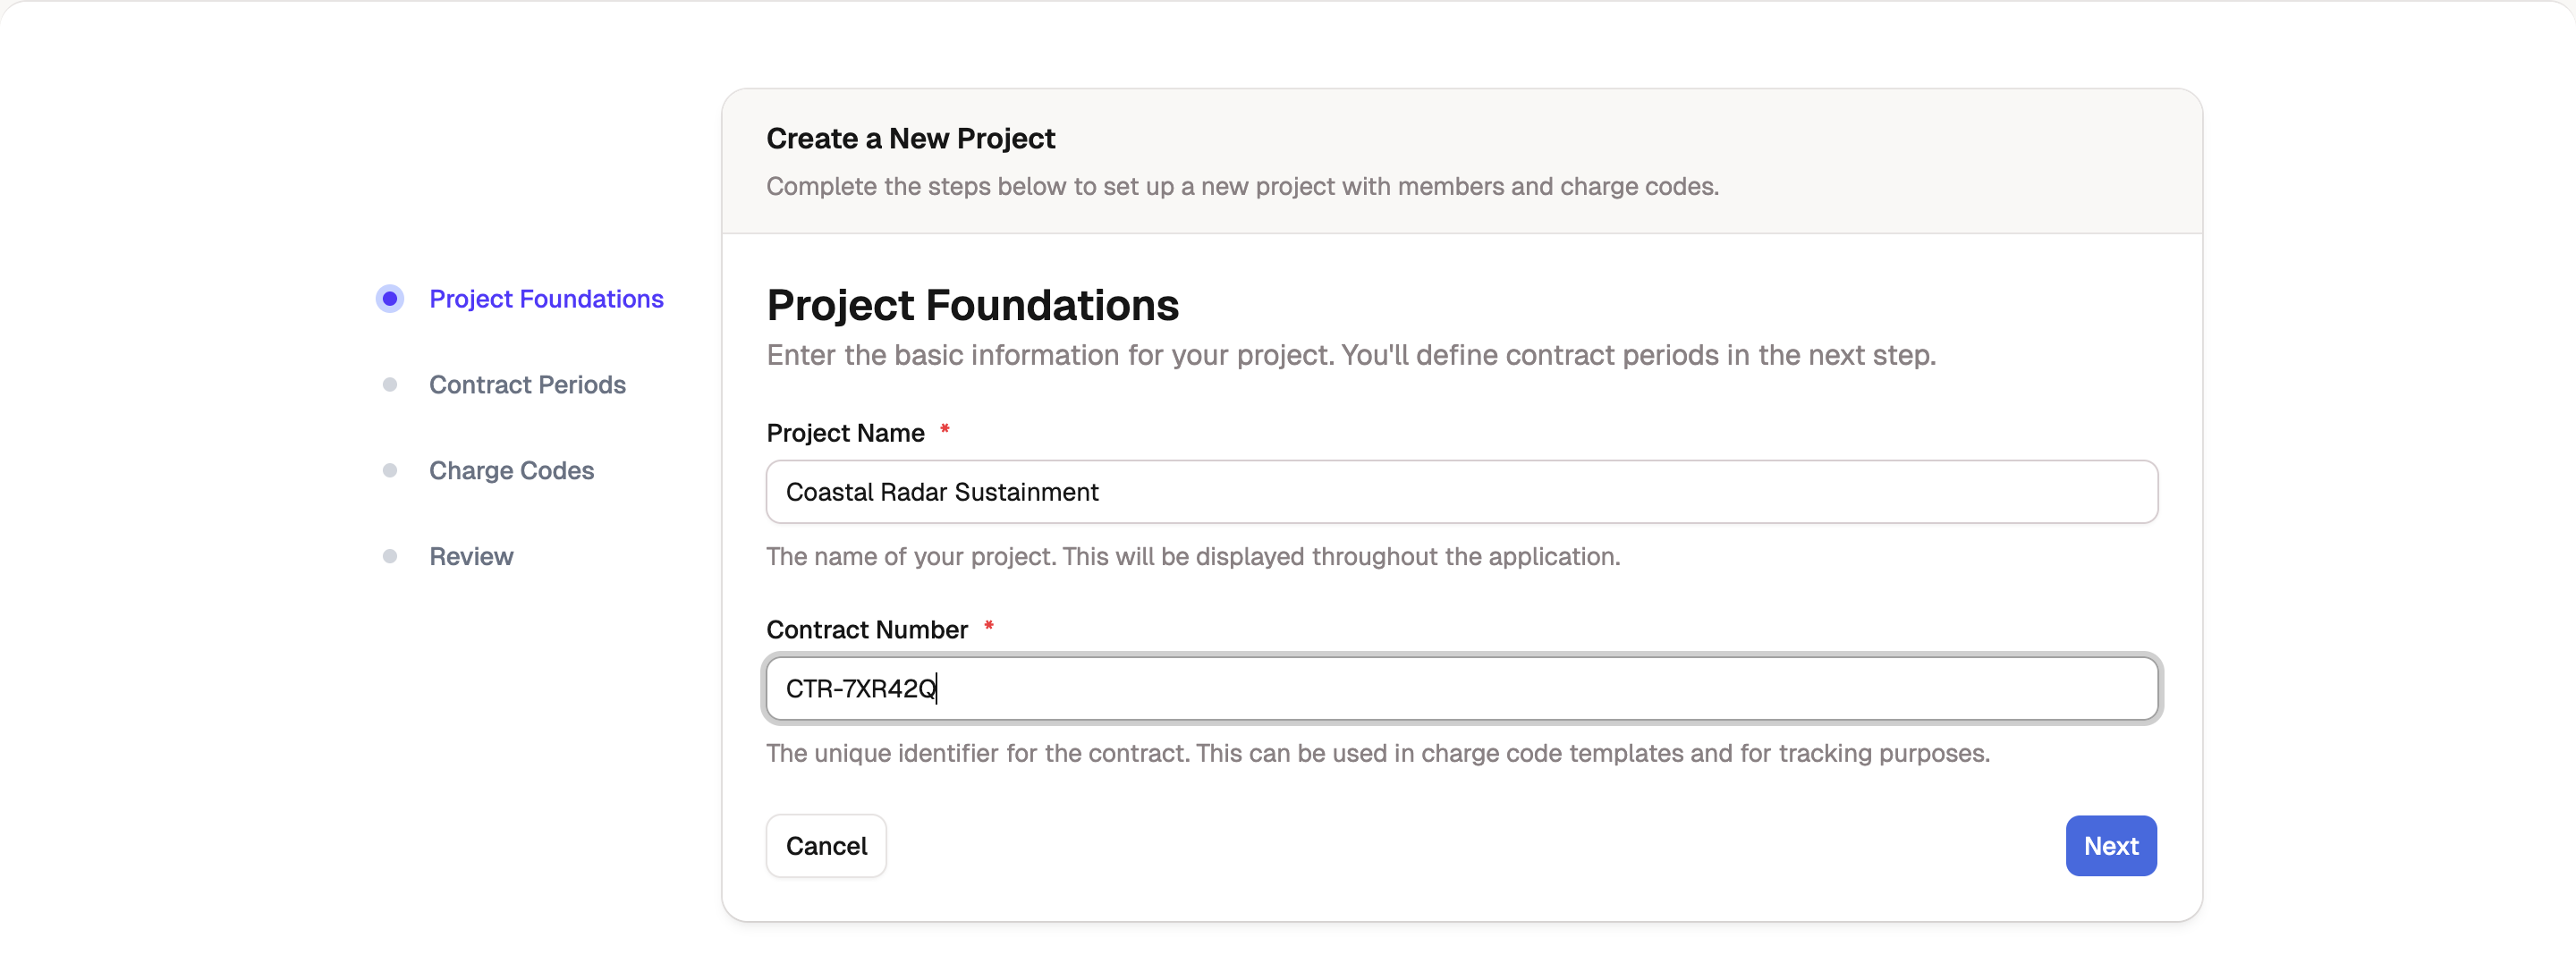
Step 1: Project foundations
Name the contract this project tracks.
- Enter a Project name.
- Enter the Contract number.
- Select Next.
Step 2: Contract periods
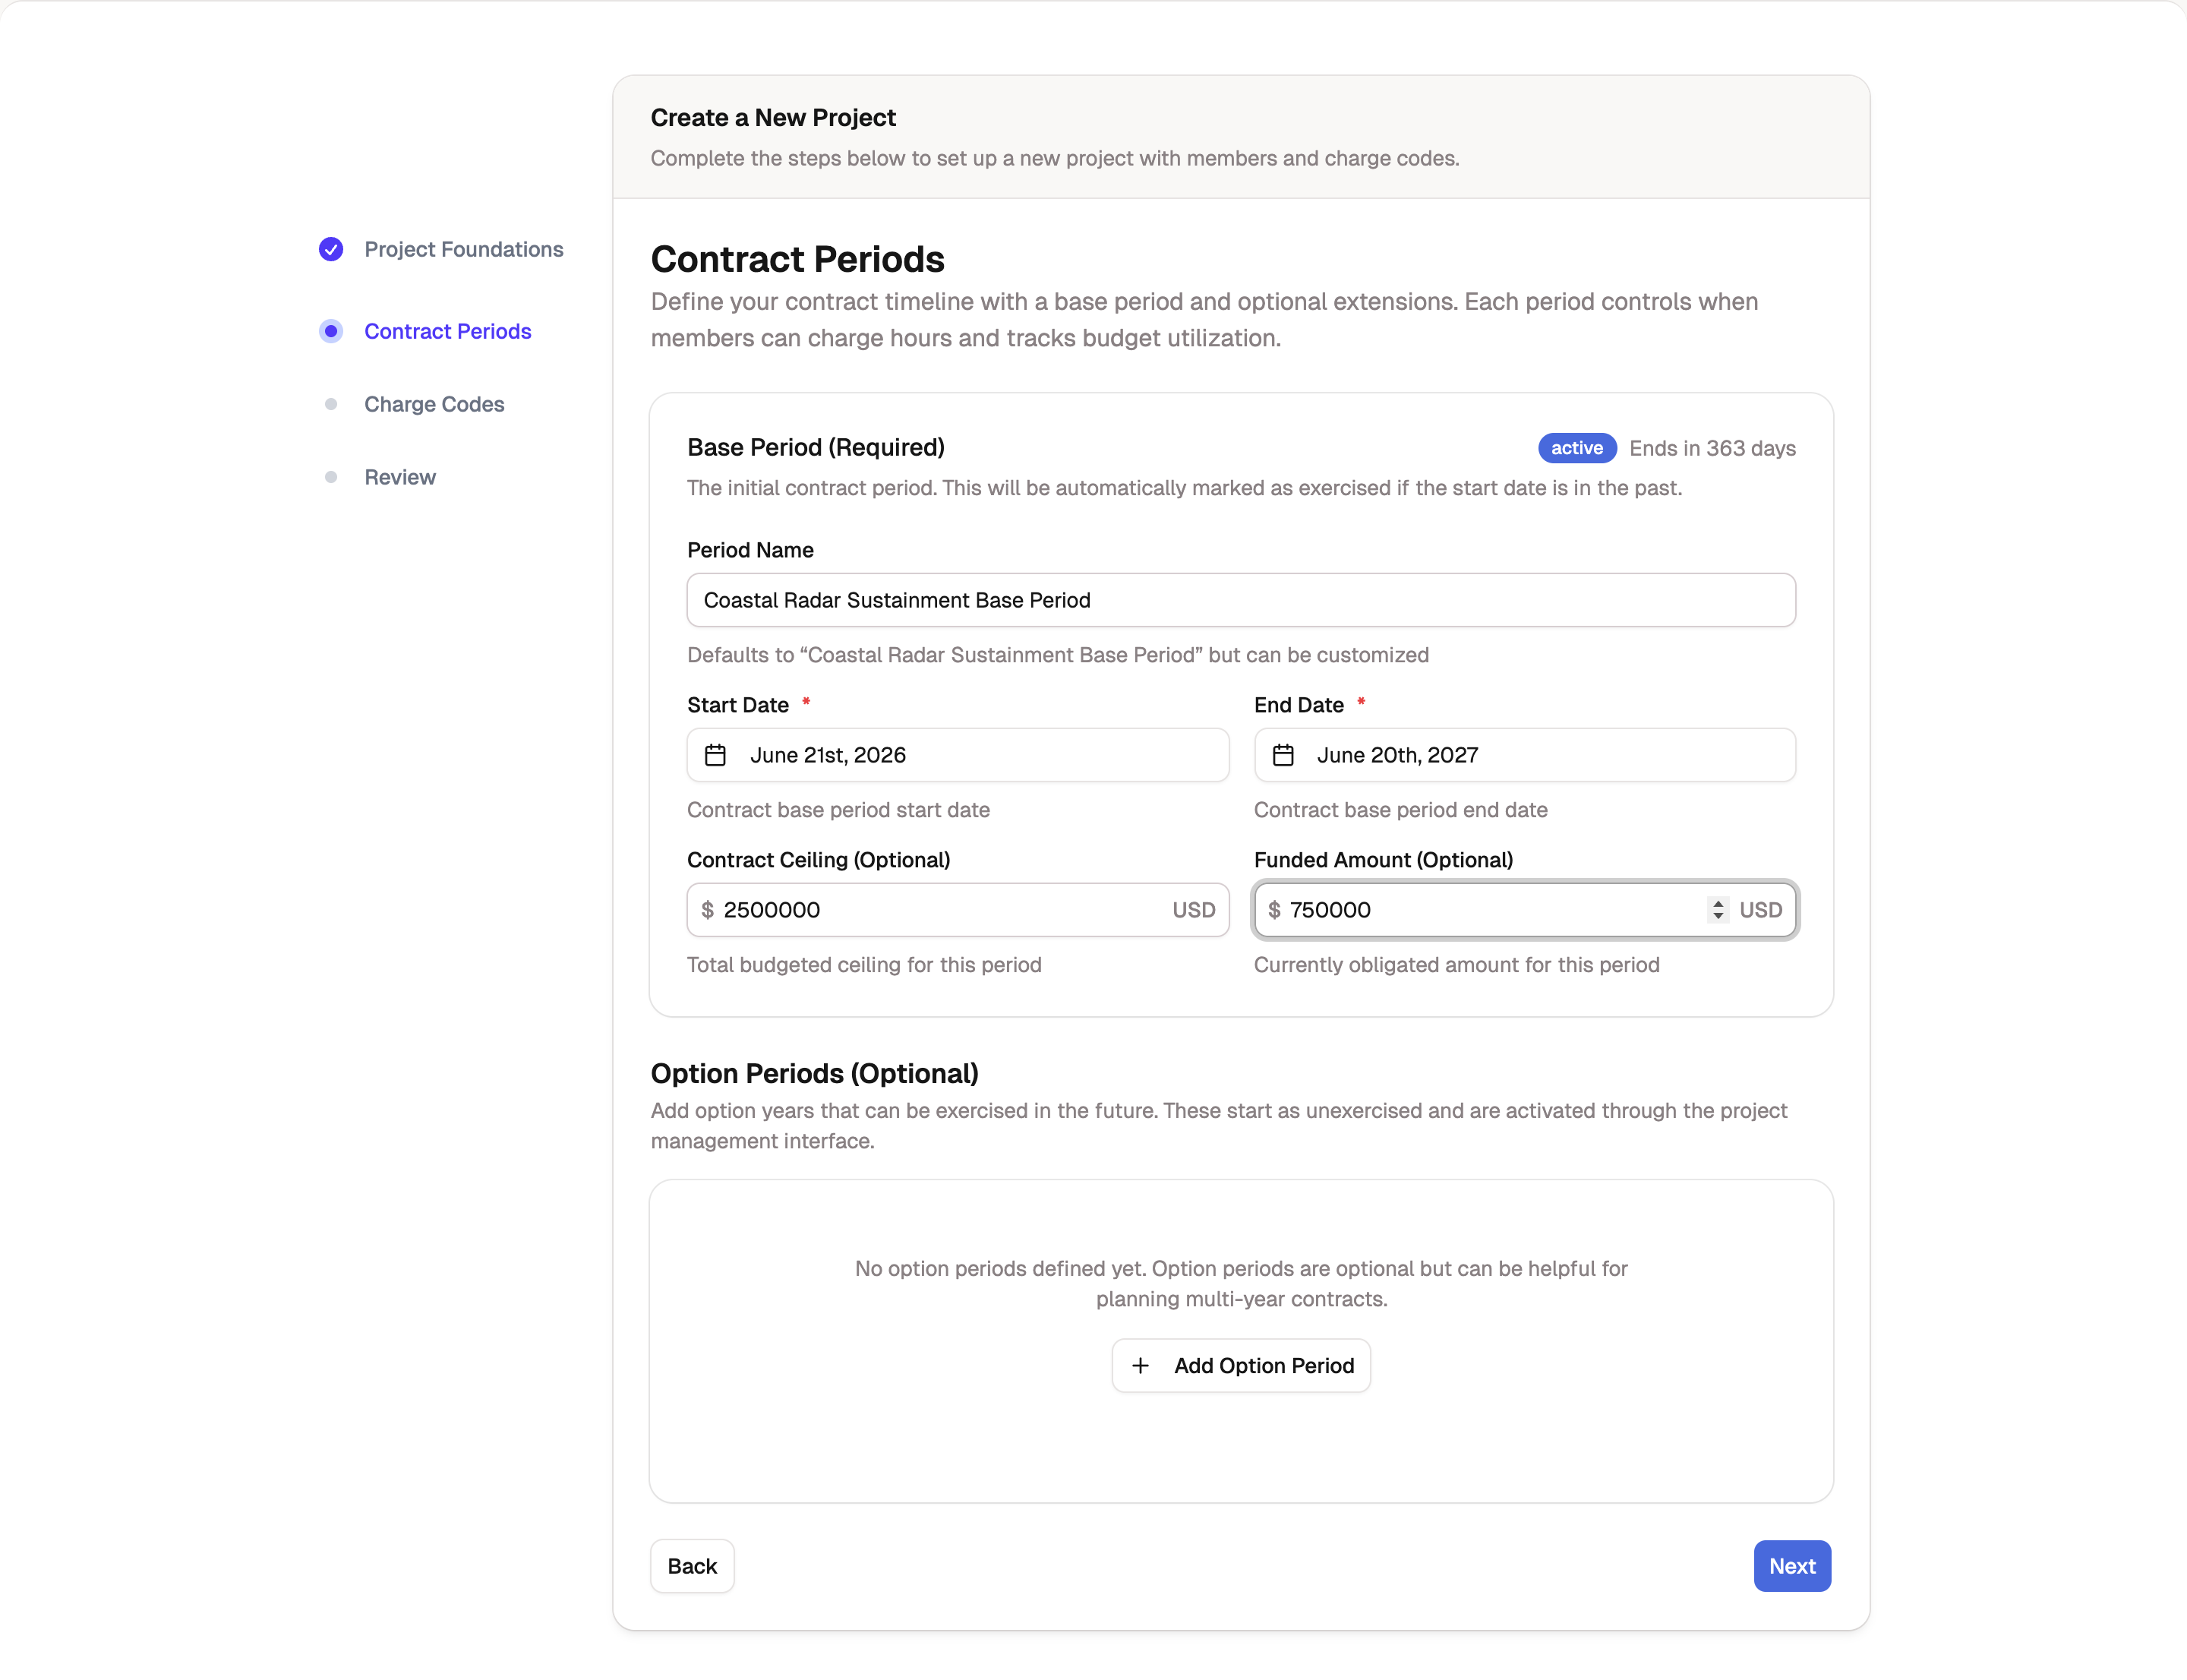
Define the contract's period of performance. Every project needs exactly one base period, and you can add option years now or later.
- Enter a Period name (for example, "Base Period").
- Choose the Period start date and Period end date. Both dates are inclusive: the period runs through the whole of its end date.
- Optionally enter a Funded amount (what's obligated so far) and a Contract ceiling (the contract's maximum value).
- Add option years if you already know them. Number them in sequence (1, 2, 3).
- Select Next.
Tip
Funding is optional here. If you don't have the numbers yet, leave them blank and add funding later from the period's Funding tab. See Funding and burn.
Step 3: Charge codes
Add the codes your team will log against. A project needs at least one.
For each code, set the Charge code (its identifier, such as PROJ-001) and a Charge code name. A Line Item Identifier (the CLIN), Description, and Budgeted amount are optional. You can also assign members to a code right here, with their Hours allocated and Bill rate, or leave assignments for later.
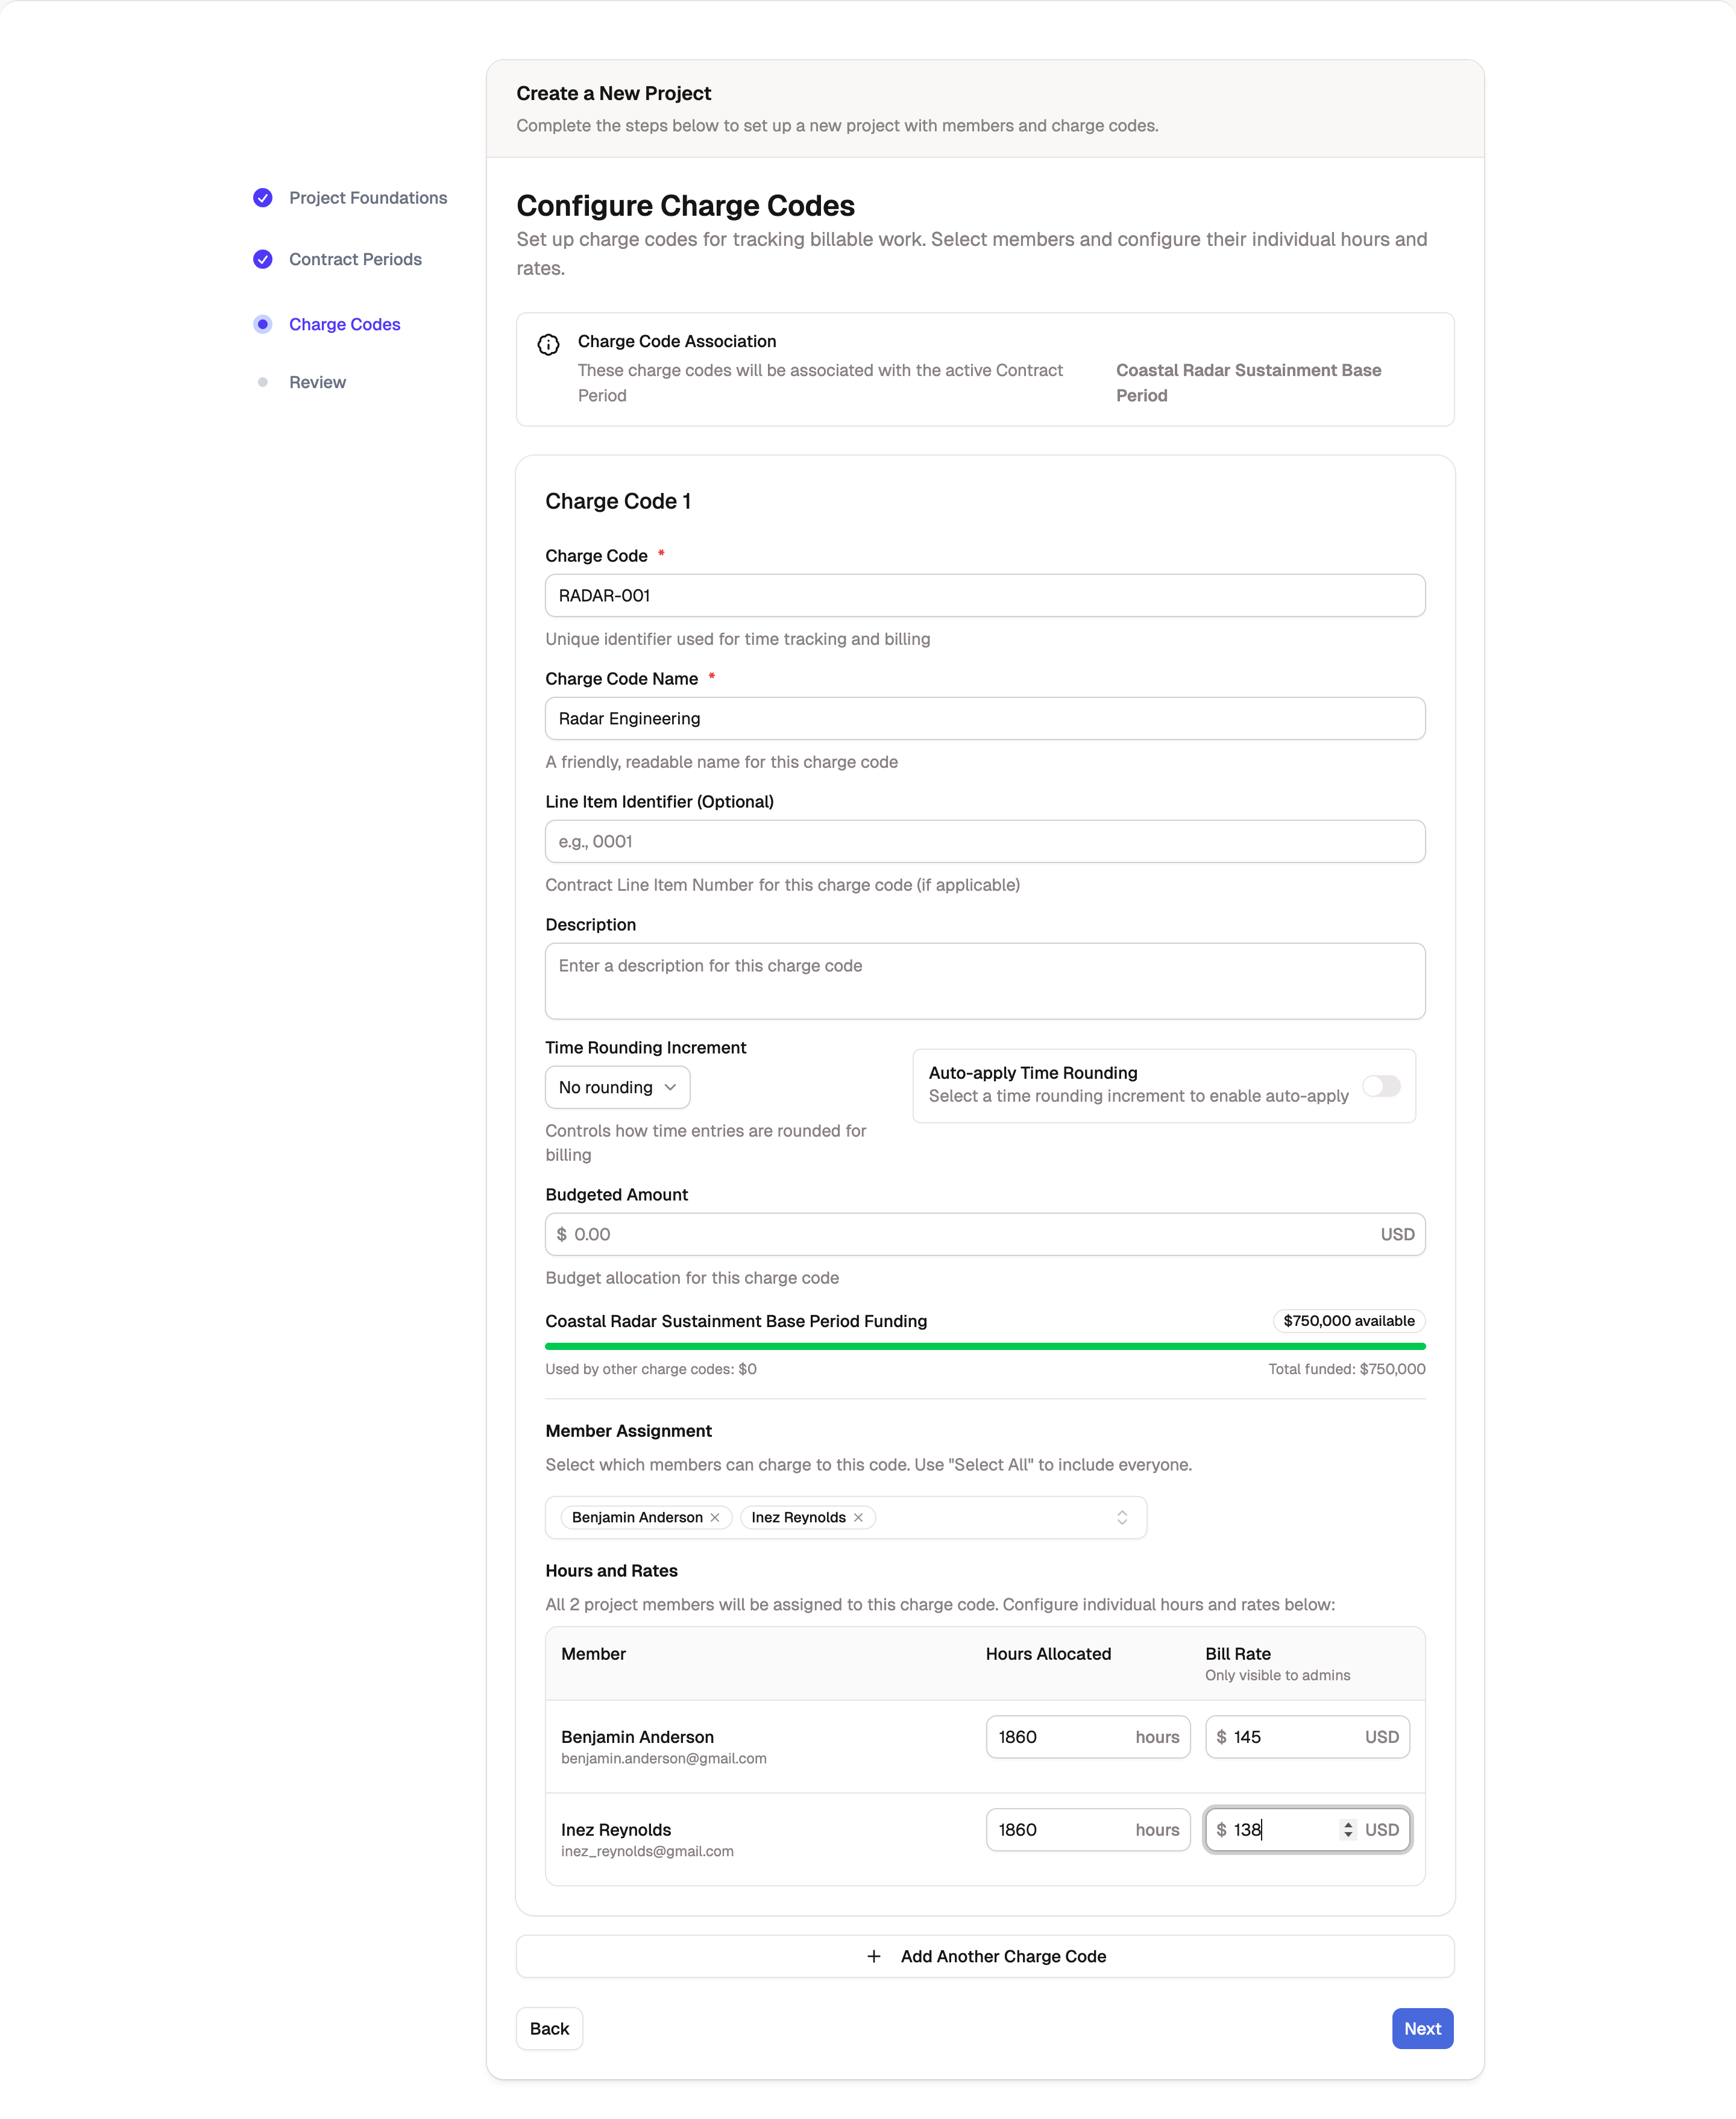
Charge codes added in the wizard are direct codes, scoped to the base period. For the full set of code attributes and how direct and indirect codes differ, see Charge codes in a contract period. For how assignments control what a member can log, see Assigning members.
Step 4: Review and create
The Review step lays out the project, its periods, and its charge codes with assignments so you can check the whole structure before committing.
- Confirm everything reads correctly. Select a step in the sidebar to go back and fix anything.
- Select Create Project.
BadgeOut creates the project, its periods, and its charge codes (with any assignments) together, then opens the new project.
Plan limits
If you've hit your plan's project limit, the wizard still lets you configure a project, but Create Project fails until you upgrade or free up a slot. A banner at the top of the wizard warns you before you reach the final step.