
Submitting a timesheet
Enter hours, review your entries, and submit for approval.
Submitting is how hours reach the approval queue. You'll do it for your own time, and it's the flow your members follow before their timesheets reach you, so it's worth knowing from both sides.
Enter your hours
- Open Timesheet from the top header.
- Find the day you want to log and enter hours against the relevant charge code.
- Repeat for each day in the period. Your running total updates as you go.
Submit for approval
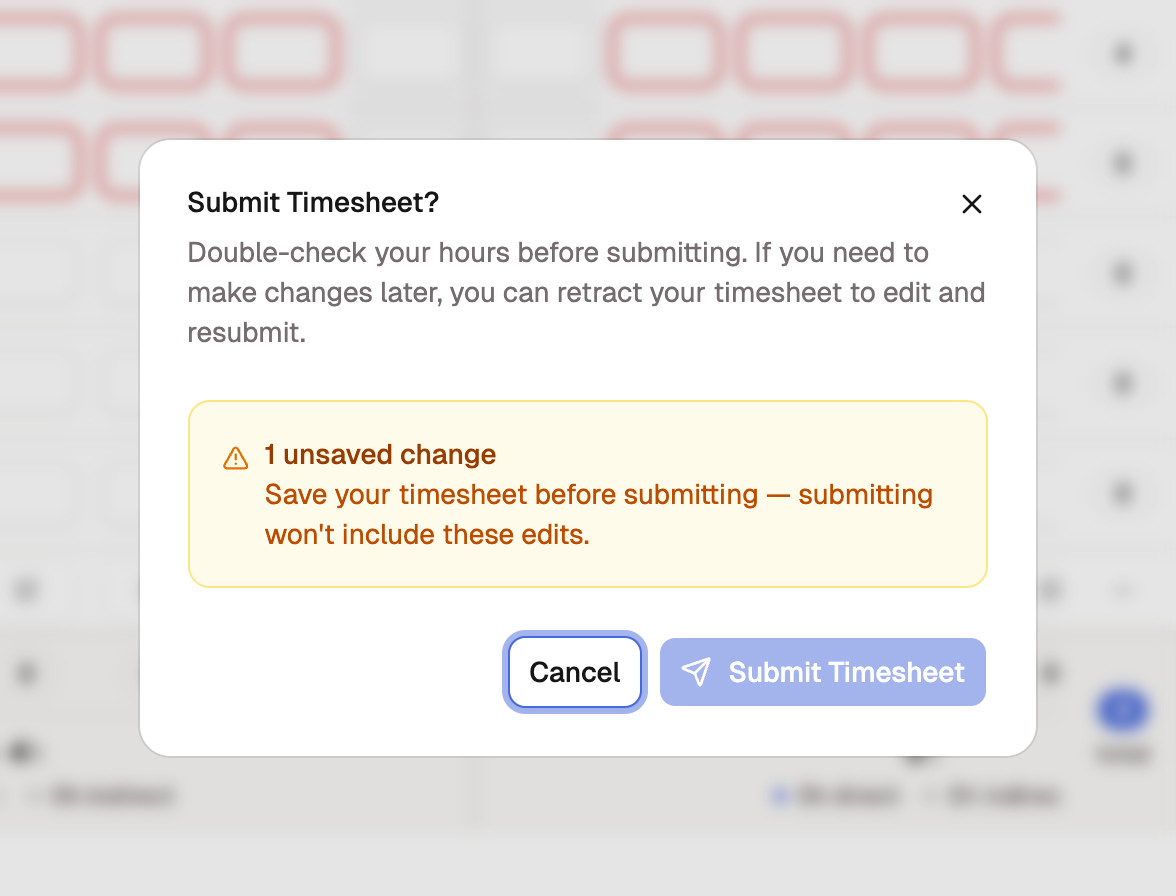
When the period is complete, save the grid, then select Submit. Submission reads saved entries only, so the confirmation dialog counts any unsaved changes and disables its Submit Timesheet button until they're saved; save from the grid's Save button and submit again. On confirming, the timesheet's status changes from Draft to Submitted, and it moves into that period's review queue for a reviewer to check.
After you submit
A submitted timesheet locks. To change your own, recall it before review; to change a member's, send it back from the review queue.
Submitted hours are checked against your organization's anomaly rules, which flag unusual patterns like overtime, weekend work, or missing days for whoever reviews the timesheet.